It’s finally time to fully construct my Templar Frock Coat. The construction will follow Mr. Thimble’s instructions, at least as much as possible, until they finally run out.
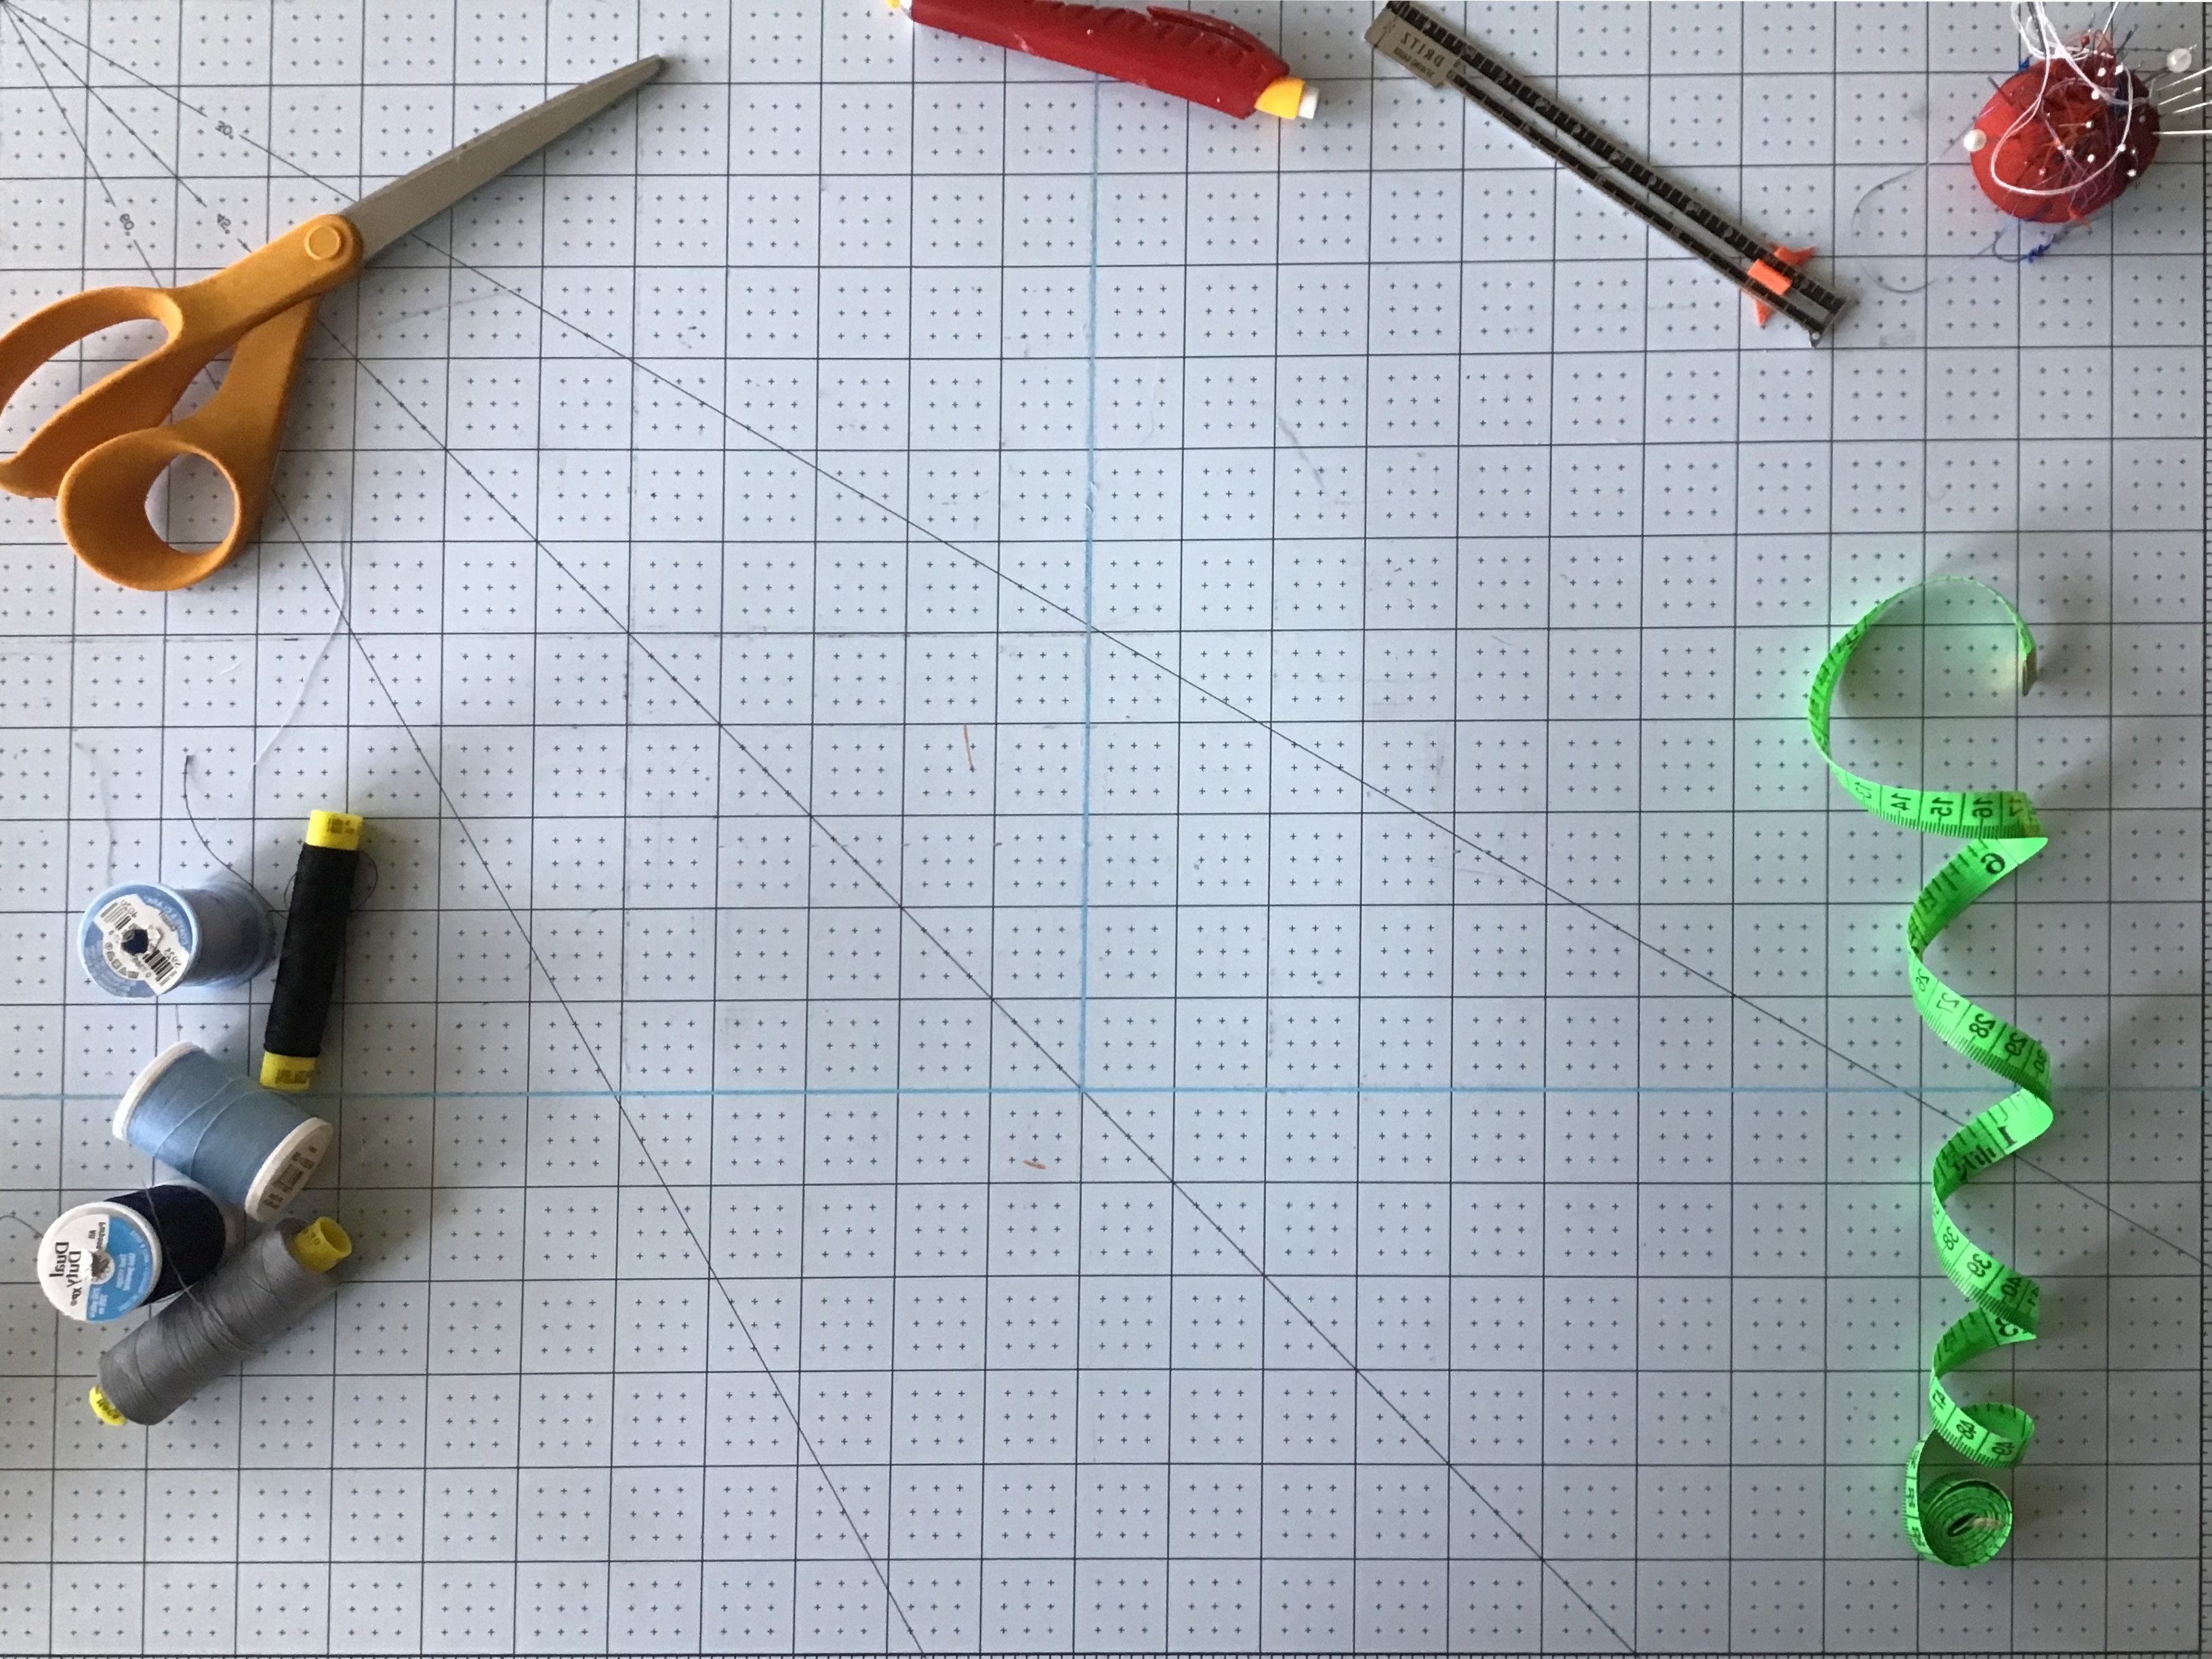
Mockup
Although not called for by Mr. Thimble, I started with a mockup. This was my first time making something like this and I wanted to make sure that I had drafted it correctly and understood its construction. It wound up being a very good thing that I did, too.
I foolishly forgot to add a scale to my drafted pattern and the printer “helpfully” resized the pages to fit. So I wound up printing, gluing, and cutting pattern pieces that were just slightly too small in every dimension. The difference wasn’t enough to notice until I couldn’t get my arms through the armholes.
Fortunately, it was only $5/yd muslin and not $50/yd wool. I recycled the muslin into the final piece where Mr. Thimble called for “cheesecloth” since cheesecloth is just food-grade muslin. I’m not sure why he preferred that term, though.

So, two important lessons: Always add a scale to your patterns and it never hurts to do a muslin.
Building The Coat Structure
Mr. Thimble gives very specific instructions as to the internal structure of a frock coat. The straight vs. cutaway frock distinction doesn’t matter for the canvas, though Mr. Thimble was writing for a coat that has lapels, which mine does not, and that difference does matter.


Mr. Thimble first cuts out a piece of canvas and stretches it with his iron at the neck and armscye. He cuts into the upper shoulder about 4″ deep and then cuts out V’s 3/4″ wide by 6″ long from the underarm and gorge.
A 1-1/4″ wide canvas triangle goes into the upper shoulder cut. He closes the other three cuts with a zig-zag stitch and covers them with linen tape.
The upper body is then covered with a smaller piece of canvas cut on the opposite bias that is basted into place. Mr. Thimble cuts this keeping in mind the lapel roll line. Since I don’t have lapels, my shape is slightly different.
After adding another set of tape over the lapel and lower edge of the second canvas layer, Mr. Thimble cuts a piece of cheesecloth the same shape as the armscye and about 7″ wide at the underarm and 5-1/2″ at the upper shoulder. This is basted onto the non-tape side of the canvas. He then covers the canvas and cheesecloth with batting and adds 3-4 more layers of batting to the shoulder point.
Mr. Thimble pad stitches a piece of felt over the batting and the forepart of the canvas.
I simply used my already cut muslin as a base for the canvas and attached the batting to it directly. Since I now had the muslin as additional backing to the canvas, I skipped the felt part of Mr. Thimble’s instructions.


Body Construction

Cutting Out The Coat
Having finished with the internal structure I can move to actually making up the body itself. Mr. Thimble’s process involved a great deal of going back and forth between the two, using his finished body pieces to help size and shape the canvas. I was using my paper pattern pieces and the muslin for this instead.
I drew the net pattern pieces on my black wool in chalk and added seam allowance and inlays as recommended by Jason MacLochlainn in The Victorian Tailor: An Introduction to Period Tailoring. Per Mr. Thimble’s instructions, I thread marked the seam lines using a double-thread.
Shaping The Body
Mr. Thimble uses a gathering stitch in the front of the armscye to slightly shrink and shape it, pulling the arc noted as 1-2 by 1/4″ in the diagram. He uses an iron to stretch the gorge and armscye of his body forepart and to press the scye gathers toward the chest front. He also uses the iron to shrink or stretch the side body.
I made my best effort to replicate this, but I had only a modern, plastic iron at my disposal and not the solid piece of cast iron that Mr. Thimble would have used. This involved a great deal of pressing down for very little result.


Body Assembly
The body assembly follows fairly typically. Mr. Thimble closes the front panel dart and attaches the side body to the front along the thread marks.
Before attaching the backs to the rest of the body, he attaches a 2-3/4″ wide piece of stay linen where the back and back skirt meet. He attaches the back to the side body along the thread marks, leaving the skirt and back skirt separate for now.
The two halves of frock coat will remain separate for most of the construction.
Mr. Thimble lays back skirt over the skirt and bastes them together. He stitches them together and presses to create the plait.
He chalk marks A to B at the junction of back and back skirt and then measures out from the seam of the left side and chalk marks as follows:
- C to D is 2-1/2″
- E to F is 2-3/4″
- G to H is 3″
The right side is 1/2″ wider all the way down. It’s unclear if he means the chalk mark or material. I assumed he meant the chalk.
You may also wonder what the distances A to D, or A to F or A to H are. So do I. It looks like F is half way between D and H, H is the bottom hem mark, and D might be the bottom edge of the back stay linen.


Inserting The Canvas
Now it’s time to insert the canvas to the coat body. The canvas is simply basted in at this point, the rest of the structure will come in later.
Mr. Thimble does his pad-stitching here, but of course the Templar coat doesn’t have lapels. In the middle here, Mr. Thimble did a try-on with his client. Since I’m the client and already have the muslin, I’m again skipping that step, too.
The canvas is secured along the outer edge with a line of stay tape that goes from the gorge down to the skirt hem. The tape is basted in and then felled down to the cloth and canvas.
I catch-stitched the rest of the muslin down. As of writing this, though, I have no idea where I got that idea; I can’t find it in any of my sources.


Buttons
Now we can get the two coat halves ready for buttons. He cuts out the button holes from the canvas and structure and then covers those holes with silesia. A single 2″ wide strip of silesia goes under the button side.
I used another strip of muslin, instead of silesia, but otherwise followed Mr. Thimble’s instructions as closely as I could. Since the button locations are alredy marked, I decided to attach them now, when the knots will be well hidden.
Facing
The facing follows the same shape as the forepart of the front body panel, coming in from the neck about 3-1/2″ along the shoulder seam. It swoops down smoothly, Mr. Thimble doesn’t say how far in the bottom of the facing is, but it looks to be about the same amount.
For the front body lining, he advises coming in so the lining and facing overlap by 1″ up to cutting an additional line, noted on diagram 94 as from P to R. Line P-R seems to intersect about the midpoint of the gorge. This extra wedge, Mr. Thimble tells us, will push back and allow extra space, and thus movement, in the lining armscye later.


Frock Coat Pockets

Here’s where things get really interesting. This coat has pockets. Great big pockets. Four of them. Two inside breast pockets, and two hidden in the tails.
Both sets pockets are cut out of the same piece of material. The combined length of the piece shown, for an interior and plait pocket, is 24″ long by 16″ wide. It is folded so that the bottom of the pocket extends 1″ beyond the front. For those bad at math, this means that A to E is 7-1/2″ and the other distances are as follows:
- A to B: 16″
- A to F: 1-1/2″
- B to C: 6-1/2″
- G to H: 1-3/4″
- H to I: 6″
The plait pocket is basted shut and then machine stitched 3/8″ from the edge from L to M and O to N, as shown
The breast pocket is the remainder of the piece. For two of each pocket, we cut them out twice.
I drafted the two pockets in seamly2d and printed paper versions to use, instead of drafting directly on the pocketing material as Mr. Thimble does.
Coat Breast Pockets
After basting and stitching the front lining and front facing together, Mr. Thimble begins attaching the inner breast pocket.
The leftover from cutting the plait pocket is cut in half and rounded. To one half, he attaches a 9″ x 3″ piece of lining to serve as pocket facing. He bastes and stitches them right sides together, flips the facing so that the top edges line up, and bastes the top and side edges down.


Mr. Thimble now serges the pocket shut and understitches around the opening. He then tacks down the piping piece to the top and sides of the pocket silesia and fells the bottom edge.
Finally, Mr. Thimble lays down the faced half of the pocket and bastes it into place. He stitches around the outer edge of the two pocket pieces, catching the top and side edges of both the piping and facing pieces.
He adds a row of top stitches 3/8″ from the top of the pocket and presses the entire front facing assembly flat.
This isn’t the usual way that I’ve learned to make pockets, so I was very careful to follow Mr. Thimble’s instructions as closely as I could.


The pocket opening is 6″ long at an angle of 15°, which is roughly 5-3/4″ out and 1-1/2″ down from the inner edge. Once marked, Mr. Thimble covers the wrong side of the pocket opening with a 2-1/2″ x 8″ piece of wadding and runs stay tape from the corner to the armscye.
Mr. Thimble then places the unlined piece of pocket silesia over the wadding and bastes it into place. He attaches a 3-1/2″ x 8″ piece of lining material over the right side of the pocket opening, to serve as pocket piping.
Once the piping is stitched into place, 3/16″ above and below and 3/4″ on either side of the pocket mouth, he slashes open the pocket mouth and turns in the piping.


Mr. Thimble lays the plait pocket over the body, so that it overlaps both the waist seam and the rear plait seam. The pocket mouth extension should be on the top. He bastes the pocket into place as from A to B and lays the pocket mouth open; then he bastes the opening side down to the plait.
Mr. Thimble secures the top and mouth side with a backstitch through the seams, without showing through to the outside.
Mr. Thimble now bastes in the back skirt lining. He clips the lining 1/4″ at the bottom of the pocket mouth extension, so that it smoothly overlaps, and fells the lining to the mouth interior. He then tacks the pocket mouth down to the plait seam.
Lining and Facing Insertion
Continuing with the back lining, Mr. Thimble folds in the back tails to the chalk marks mentioned above. The turn-in should be 3/4″ wide and end at the chalk mark. He surges over the top of the turn-in, where the stay linen was placed.
Once the breast pocket is finished, Mr. Thimble can attach the side body lining to the front.
Mr. Thimble lays the front facing on top of the coat, right sides together. He bastes the facing to the body at the front seam line and just behind the line where the facing and front lining meet.
He stitches the front facing to the front body 1/16″ back from the stay tape.


Finishing The Frock Coat
That’s it.
That’s the end of Mr. Thimble’s instructions. Diagram 146 is the last illustration that appears in “How To Make A Cutaway Frock.” From here, we’re on our own and I had to guess. Based on the earlier part of his instructions, while preparing for the try-on, Mr. Thimble would proceed to finish the hems, close the shoulders, close the back, attach the sleeves, and then the collar.
Without the benefit of Mr. Thimble telling us how a frock coat is constructed, I’m not going to go into too much detail. This is how I chose to finish things, and likely not the right way to do it.
Skirt Lining Insertion
I saw no reason not to attach the skirt linings now, it seems like the last step in finishing the plait pockets. Since Mr. Thimble didn’t attach them earlier, and I assume he had a good reason, I basted the skirt lining into place on the skirt seam and along the lower hem thread marks.
Once that was finished, I felled the skirt lining down to the back skirt lining and onto the pocket mouth opening.


Shoulder and Back Seams
My best guess is that this is where Mr. Thimble does the back seam. Doing so now is the only reason I can come up with for why he didn’t choose to attach the lining back at the same time as the lining body. This would mean that Mr. Thimble closes the center back and shoulder seams, and then attaches the collar before doing the back lining.
I closed the shoulder seams first, and then did up the center back seam. This is the same order that Mr. Thimble used in preparing the try-on.
Coat Body Lining
I removed the basting stitches holding the front lining to the front body, flipped the facing around, and pressed the front into shape. Next, I felled the upper body lining to the skirt lining, pushing into the waist seam allowance.
Now I elected to attach the back lining. I did the back seam and whip stitched the back lining to the side-body and front panels.
At this point the coat body is very nearly done. I felled the skirt lining down at the front and bottom edges. This was also a chance to check for any missing lining seams.


Frock Coat Tails
I felled the back skirt lining to the back tails along the rear side. I felled the left side tail lining along the top, but left the right open.
To create the back vent for the tails, I folded one tail over the other, tacking them down, similar to how Mr. Thimble prepared for the try-on.
I felled the back lining down over the inside of the right tail and over the left tail lining.
I believe this is why Mr. Thimble cut the center back as one piece, but the back lining as two. When I tried using one long back lining piece it was too awkward to overlap the tails.
Sleeve Construction
After putting together the sleeve and sleeve lining, I inserted the lining into the sleeve and basted it into place.
I basted and then machine stitched the sleeves to the coat body, careful to keep both sets of linings out of the way. It may have been easier, if slower, to backstitch the sleeves in.
Mr. Thimble advises pulling any excess fullness in the sleeve head towards the lower back of the armscye, to improve freedom of movement.
I whip stitched the sleeve lining to the coat body lining to finish it.


Coat Collar
Because my coat uses a standing collar, I didn’t concern myself too much with Mr. Thimble’s instructions for collars. I simply attached the canvas to the collar lining with machine stitches. Then I stitched the collar and collar lining along the front and top edges, trimmed the seam allowance, and flipped
I basted and then stitched the collar to the body and felled the collar lining down to the body lining.
Finishing the Frock
At this point the coat is very nearly done. I felled the skirt lining to the skirt body, all the way around. This was a chance to check to make sure that any missing lining seams were finished.
After another try-on, I adjusted the sleeve length and felled the sleeve linings down.
The last step was to open the button holes and add a set of hook-and-eye closures to the collar.


