
They changed the uniform jackets for the new season of The Orville. I just finished the pants and undershirt and now they change the jackets. Not sure yet if that makes me happy to have a new project to work on, or annoyed that I thought I was finished with this.
Well, I did want to get back to the jackets anyway because there were a lot of features of the old ones that I wasn’t totally satisfied with. This is a great opportunity to take another look at those.
Material
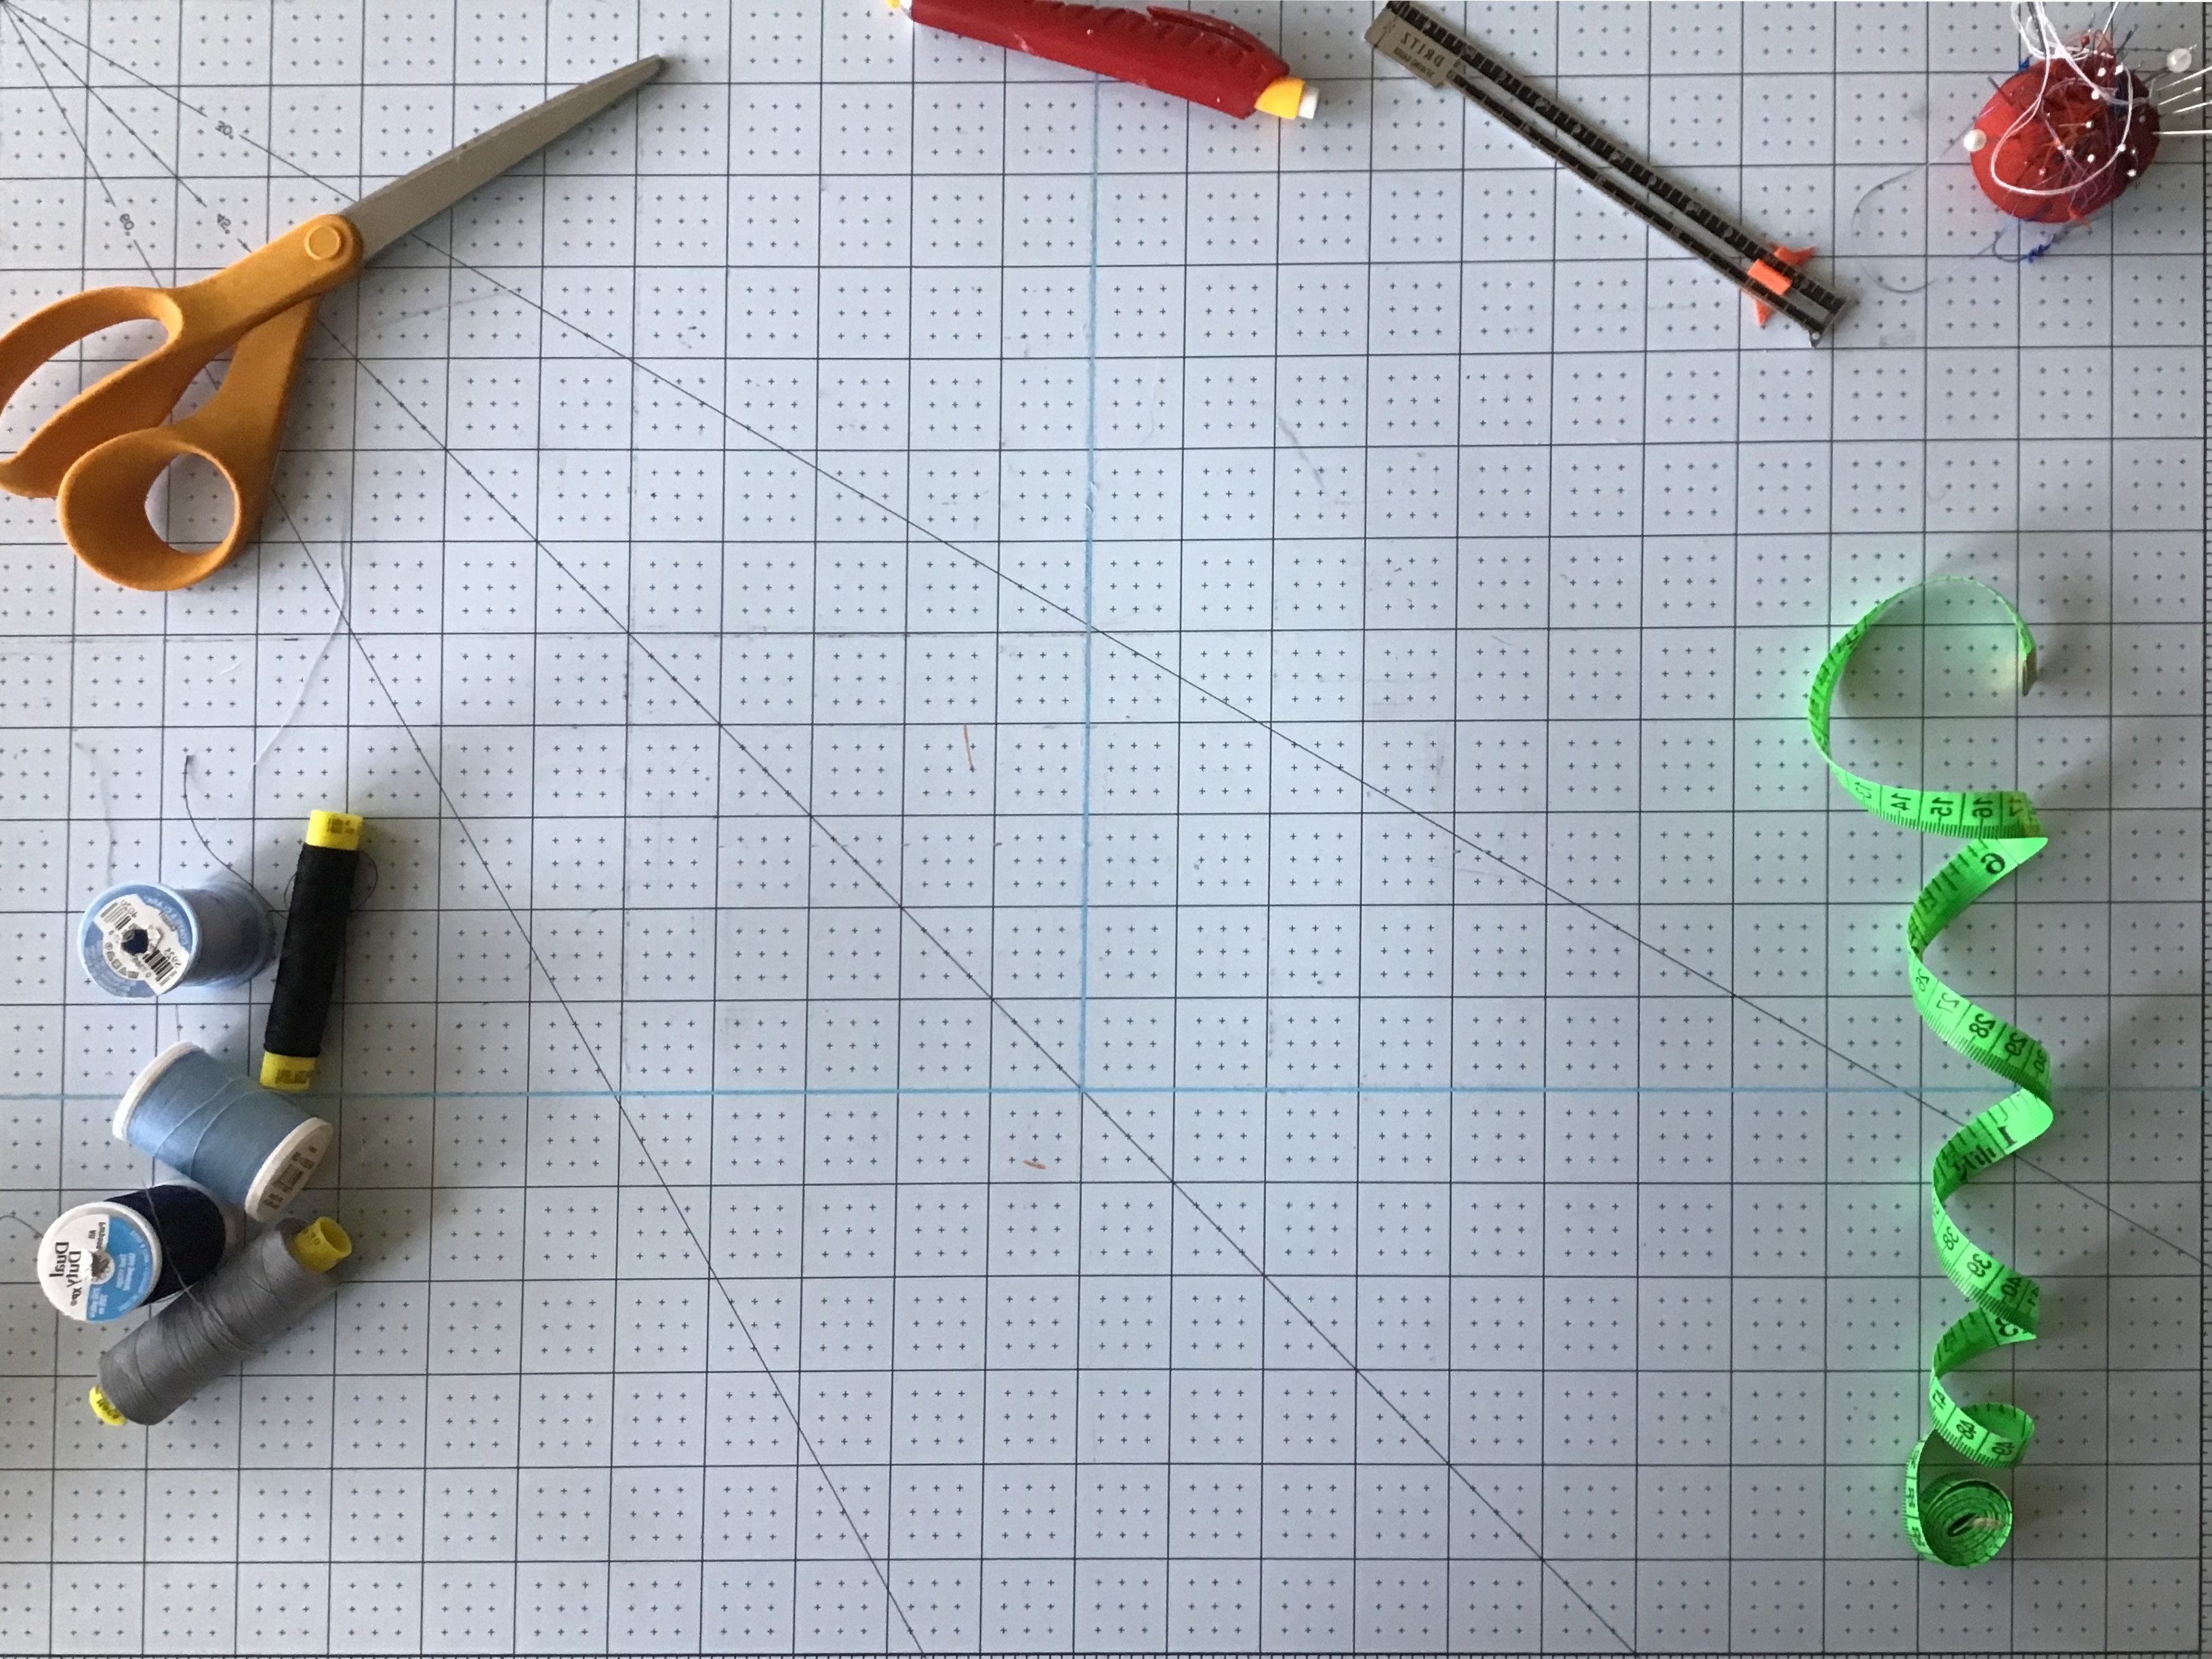
One of my suppliers has an issue keeping their green material in stock. Especially when it’s the green material I actually like. The first one that I bought from them was near perfect, but as time has gone on that went out of stock never to return and I’ve been using the medical green below. The last straw was when the only available green was the much brighter lime in the upper right.


I’ve decided to go with a different supplier that seems to be more reliable and has a Kelly Green options that is much closer to the green on Claire’s jacket. As a bonus, it’s a little heavier and I think the texture is actually closer to the show. I’m going to be going with this supplier from now on.


The new material is also thicker than the older sports mesh and requires less support in order to fall properly. Moving to a heavier material lets me adjust the internal structure of the jacket.
Because of how thin the older material was, I felt the need to underline each colored panel with a similarly colored, but thicker, piece of cotton/poly lining. I was worried about subtly altering the color visible from the outside. That’s not quite accurate to the show, however, which features black lining inside the jackets.
With a slightly heavier outer fabric, I no longer need to worry about the underlayer affecting the visible outer color. Now, I can move to flat-lining the front and back panels in black. It’s a small change, but it will hopefully improve the overall feel of the end product.

For the sleeves and side panels, I’m using a black jersey-knit cotton. This is thick enough to fall reasonably well and has enough stretch to be pretty forgiving when it comes to fit and easy movement. As an added bonus, the material isn’t terribly prone to fraying, making it a lot easier to work with and simplifying the seam finishing a bit.
Body Layout
The bodice has four main pieces. There’s the front and back panels, the side panels, and the shoulder yoke.
Side Panels
The uniform is pretty unusual in its design. On most jacket designs that have side panels, they either start further back than we see on the uniform, or they are composed of a front and back piece.


It might seem intuitive that we should take the two side panel design and simply attach those two panels together. This winds up creating a slight issue, though, as the uniform jackets are a bit more fitted. Well, on the main cast, anyway; look at those two nameless security guards.
That side seam is part of how the final jacket achieves its normal fit, so we can’t just take a commercial pattern and affix tape those two panels together without altering the shape. Even if you did, those patterns use a single piece sleeve that’s attached flat, so you would still need to completely redraft the sleeve.


Since I’m drafting a new jacket design anyway, let’s try to do it properly. We do have two decent examples to draw from with this. Mr. Regal will, as always, make an appearance. He offers us a very nice jacket that he refers to as a Naval Officer’s Blouse, in Diagram 110. This is largely for inspiration on the collar and fitting, however. The main design follows the methods from Gareth Ker’s Patternmaking for Menswear, which describes a Fitted Denim Jacket that has similar lines.
Yoke
The light grey shoulder yoke is only slightly thicker than the rank epaulets. Which suggests that if we can nail down the size of either the yoke or the epaulet, the other should follow naturally.


Let’s zoom in on that shot to the right, where Ed is bent over. It gives us the best actual look at the epaulet and yoke.


Obviously, not quite perfect; the actual yoke won’t have a shape anything like this one, but it’s a pretty good place to start looking. The epaulets are centered at the top of the shoulder, which means that the epaulet center line can function as a shoulder center line.
From this, it appears that the yoke front and back edges have a roughly 10° angle. At the shoulder it comes forward by about 1-3/4″ and back by 2-3/8″ from the center line, for a width of about 4-1/8″ at the shoulder tip. Probably a bit more, given the angle we’re seeing, which tracks with a fairly typical yoke design, about 4-1/2″ wide.
Sleeve Design
The sleeves are fairly typical two part sleeves, at least initially. The undersleeve is totally normal, but the upper sleeve is divided into three visible parts.

We need to add quilting to the forearm. Each of the sleeve seams is also going to get piping. The sleeves shouldn’t require lining, except where the quilting material has to go.
The jackets have pockets.


The jackets have pockets! This changes everything!
Okay, not everything. But it does change some things. Mainly the side panel. The pocket appears to start right where the side ribbing ends. This suggests that the ribbing and the pocket attachment might go together somehow. I have an idea.

I can divide the side panel into two pieces. One is the upper portion of the side panel, including the underarm. The other would be the pocket bag. The two pieces overlap at the side ribbing. This would naturally form a lining under the ribbing, without the need for a separate lining piece. Folding over the pocket bag in this way also means the side panels don’t need to be hemmed.
New Horizons Jackets
They changed the jackets.


There are a whole bunch of minor changes, but the biggest one seems to be the yoke. Essentially, they’ve kept the light grey yoke piece the same, while adding a darker portion on either side of it. Meaning that the front and back panels must be slightly shorter by that amount.
Piping around the yoke and collar is also different. There’s no division colored piping on the collar anymore, instead it looks like the lining is poking out. Instead, piping has been moved to between the collar and yoke portions, connected to the piping that was already between the yoke and panels.

It looks like the new material is also being used for the ribbed portion of the sleeve forearm. They’ve also replaced the ribbing on the side panel with some alternative, more textured material. I’m thinking all of these altered pieces might be using the same black, textured material.
At least the new side panel doesn’t need any pockets. That partially makes up for the added complexity of the new yokes.
They also seem to have shifted the quilted forearm portion up a bit, it starts at the elbow now instead of below and ends above the wrist rather than at the hem.

One response to “Orville Uniform Jackets Redux”
[…] already noted, the third season rolled out a number of visual changes to The Orville. Improved visual effects, […]